So here is something I made for my favorite knitter (she made me the best socks ever) and she needed a display to show her yarn “cakes”.
She also suggested I make a post on how to do it, I figure some will love me for the idea and some will dislike me a lot for creating more work for them… hehehe.
Here it is what it looks like:
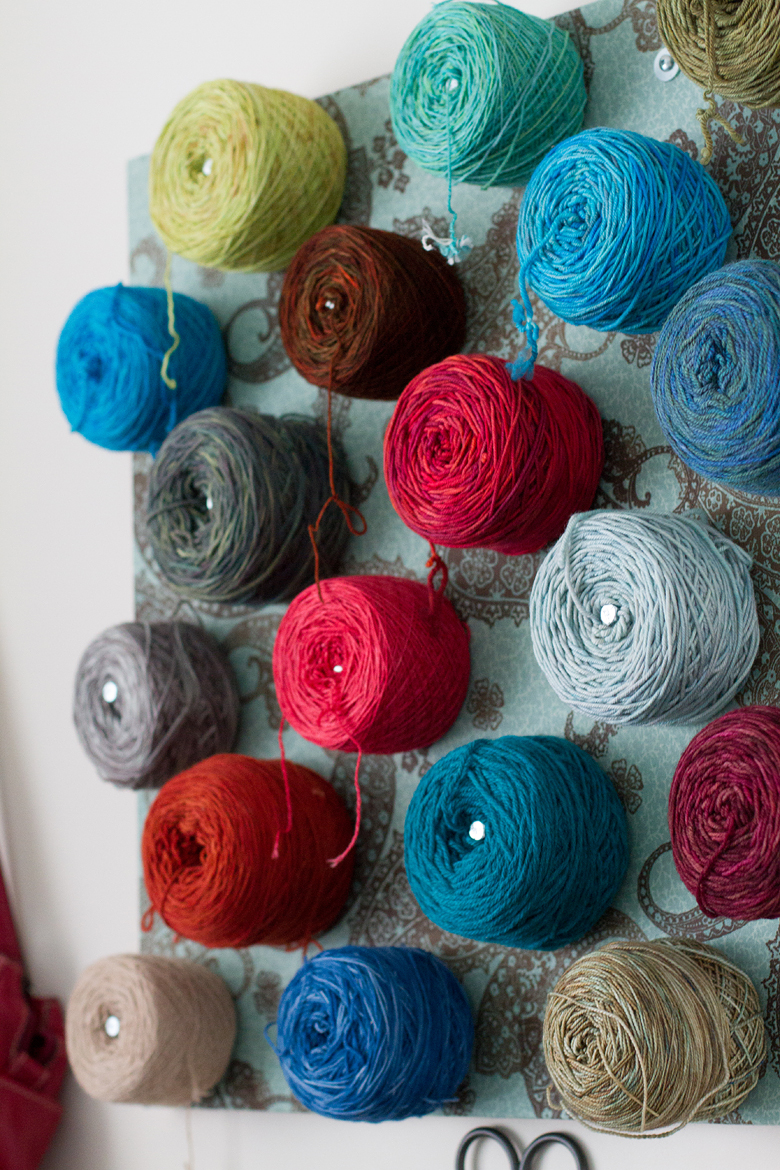
It holds 18 cakes, and it isn’t difficult or time consuming to make.

These are some of the tools and materials I used, as well as glue, finishing nails and a hammer.
Material list as follows:
- 1- 2′ x 2′ MDF board
- 18- 1/4″ bolts, 3″ long
- 36- 1/4″ washers
- 36- 1/4″ nuts
- 10- finishing nails, 3/4″ long
- 1- 27″ x 27″ cloth (decorative) you can also paint it!
- 2-3/4″ x 1 1/2″ x 24″ pieces of wood for the backing
- 4-11/2″ mounting screws
- Glue (I used wallpaper paste)

Draw a grid on the back and drill your holes at the corners. We drilled more than we ended up using, based on the size of the yarn cakes. Note the use of the vacuum, great for brownie points!
I used a 1/4″ bit to drill.
Once the drilling was complete I applied the glue to one side…
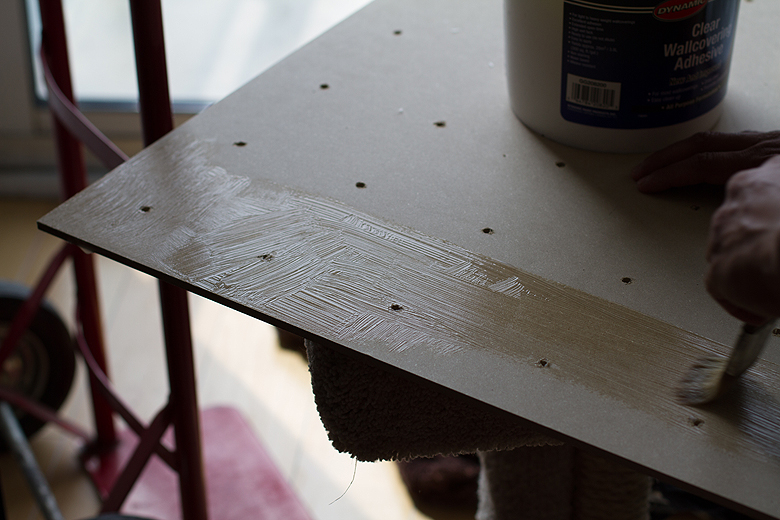
…as evenly as I could.
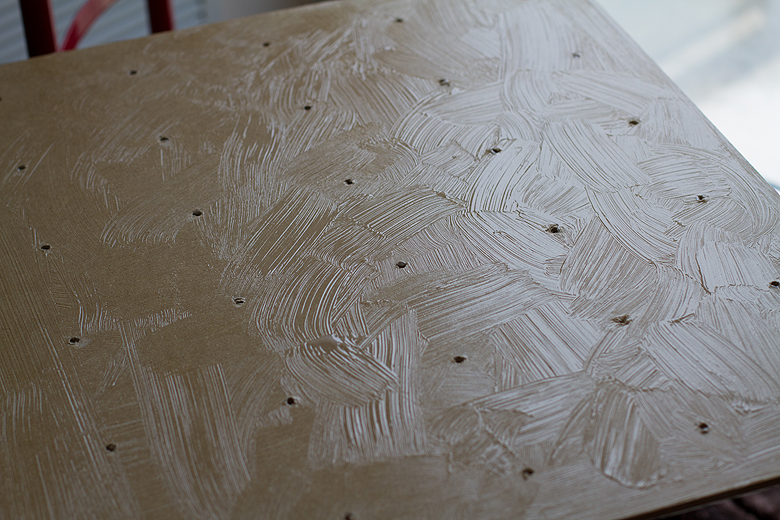
Let the glue sit for a bit (don’t stare at it, it’s like watching water boil).
Once the glue is ready, apply the cloth and smooth it out.


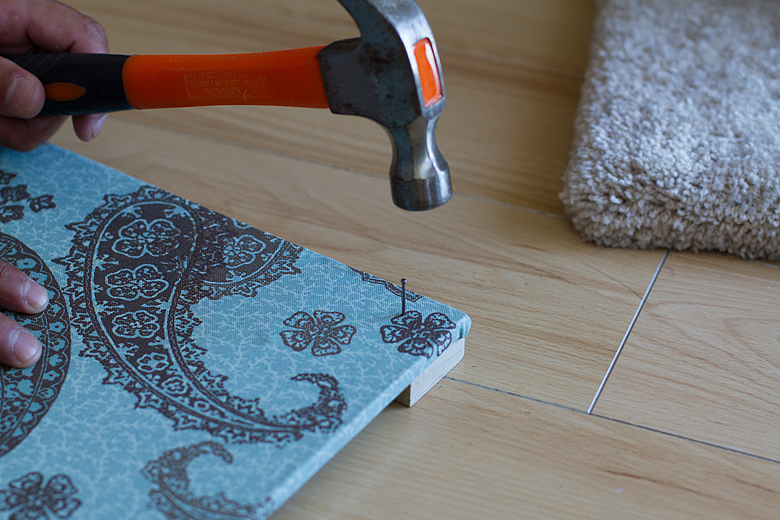
Turn it over and apply glue to the outer perimeter of the board and fold over the extra material. Glue and nail one 3/4″ x 1 1/2″ x 24″ to each side

This will provide the space needed for the nuts holding the bolts in place.

I used wood glue for these pieces, and finishing nails to reinforce it.
Now all is left to do is cutting the holes and bolting all 18 bolts (this is where having kids comes handy)


Once all holes are cut, screw in one nut and a washer before putting the bolt through the board, once through, place a washer then the last nut and tighten. A socket wrench works best.

You can also use your hand, since the bolt is not likely to ever hold more than 100g of weight.
I used four 1 1/4″ screws and wall plugs to mount it on the wall.
All in it cost about $30 and two hours of my time, but she loves it and I get more socks =D


[…] Pretty snazzy, eh? If you’d like to make your own, or to sucker someone into making one for you… he’s posted a DIY right here. […]
By: What, you’re allergic? Let’s put some on the wall! | The Blue Brick | Photography and Handcrafts by Shireen Nadir on July 18, 2013
at 2:54 am
Brilliant! Now to tackle the mountain of wool in the sewing room…
By: sisteranan on July 18, 2013
at 11:11 am
Amazing! The perfect solution to bare walls + too much yarn.
By: Leslie on July 22, 2013
at 3:26 pm
[…] of an organized storage system. After doing some research on line I found this great article by Tito Santana.This wall yarn or cake organizer was just what my client had in mind. It took about 4 hours of […]
By: Yarn Wall Organizer-DIY | Clearvue Organizing on April 30, 2014
at 10:22 pm